Apple trees, notable for their delicious and nutrition-packed fruits, follow an intriguing lifecycle that is heavily influenced by the seasons. Understanding these cycles, from the budding of leaves up until the maturation of fruits, enhances the potential for successful and bountiful harvesting. However, grasping the techniques of apple tree cultivation isn’t solely centered on decoding the tree’s lifecycle. Ensuring the overall health of the apple trees through appropriate watering, disease management, effective pruning, and suitable nutrition is also an integral component. Further, it’s important to learn proper harvesting techniques and post-harvest storage approaches to maintain the preserved quality of apples for an extended time span. This knowledge, vital for anyone interested in apple farm management or those looking to own a personal apple tree, brings the promise of healthier trees and superior apple crops.
Understanding Apple Tree Cycle
Whether you’re an apple enthusiast or a hobbyist gardener, understanding the stages of an apple tree’s growing cycle can significantly enhance your appreciation for both apple consumption and cultivation. This knowledge isn’t just an exciting revelation about nature’s cycle, but a vital tool for better apple tree care that leads to an excellent, possibly bountiful, harvest.
So let’s delve into the incredible apple tree’s life stages, not in the jargon-laden textbook style, but in everyday language that any apple devotee can understand.
Stage 1: Dormancy
This is the apple tree’s ‘winter nap’. During this phase, from late fall to early spring, the tree goes into hibernation and stops all growth. It’s the perfect time for pruning since the tree’s energy is mainly reserved, not spent on growth.
Stage 2: Silver Tip and Bud Stage
As winter gradually lifts its frosty veil, the apple tree begins to stir from its dormancy. One of the first signs of this is the silver tip stage – when the leaf buds extend to the point that their tips become slightly exposed, revealing a silver color.
Stage 3: Green Tip to Half-inch Green
As temperatures continue to rise in early spring, the buds open further to expose a green leaf tip. This marks the transition to the next stage, where buds extend to about half an inch.
Stage 4: Tight Cluster
The buds, now bountiful nodes of potential, form tight clusters just before blooming. This is an exciting stage as it heralds the arrival of spring and indicates that the tree is galloping towards growth and production.
Stage 5: Blossom
Ah, wonderful spring, when the apple tree is bursting with pink-white blossoms. This marks the blossoming phase when pollination, the key to apple production, kicks into high gear. The aroma, color, and taste of apples hangs in the balance during this stage – an exciting moment for any apple aficionado.
Stage 6: Fruit Development
Once the blossoms are pollinated and shed, tiny apples start forming. Throughout the summer, these little apples will continue to grow and mature. At the end of this stage, apple enthusiasts finally bear witness to plump, juicy apples, ripe and ready for the picking.
And so, dear apple enthusiasts, this marks the end of the apple tree’s annual expedition. Every season serves its purpose, rolling smoothly into the next, driving the cycle of growth, dormancy, and rebirth. Tune in to these stages, tend your apple trees with love, knowledge, and patience, and the bounty will be yours to relish.

Maintaining Health of Apple Trees
Stage 7: Fruit Maturation
As we journey through the life cycle of an apple tree, we reach the thrilling stage when small fruits begin to mature into juicy, ripe apples. At this stage, your primary mission is to ensure that each apple absorbs the right amount of nutrients for optimal growth and development.
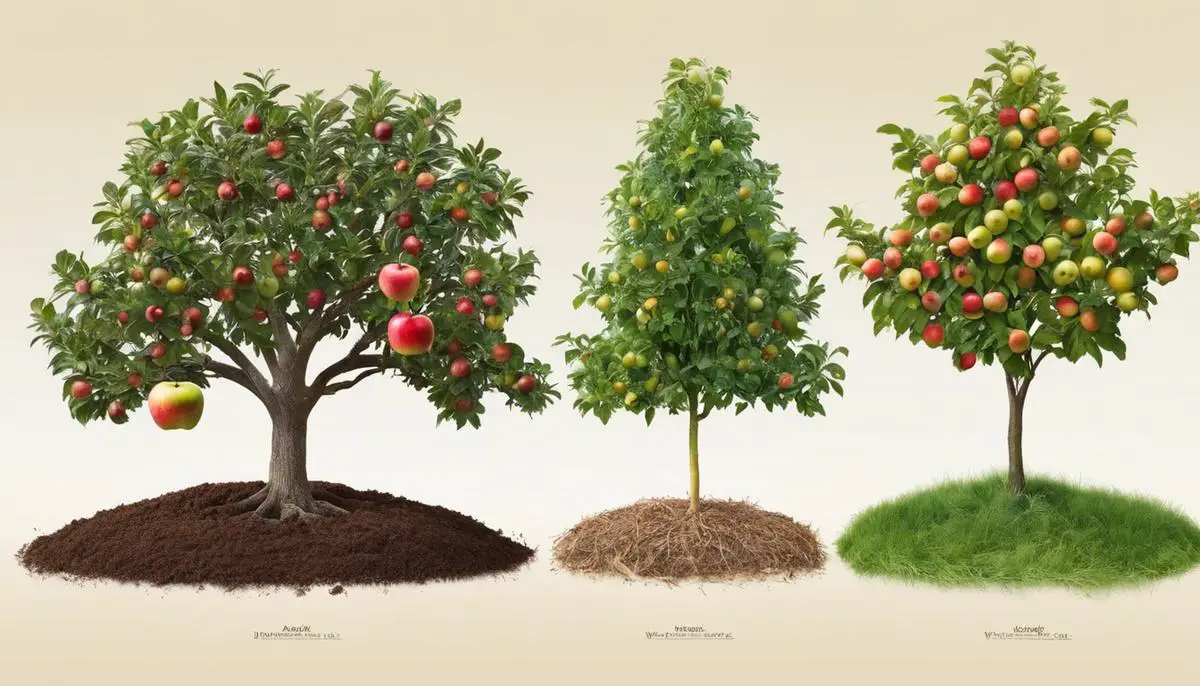
Firstly, watering is critical during fruit maturation. The tree will need one inch of water per week, either from rainfall or manual watering. The soil should stay moist, not wet. Therefore, consider mulching around the tree to help retain soil moisture and suppress weed competition.
Hand thinning is another key practice during the fruit maturation stage. If you notice that apples are clustered together, gently remove some from the cluster leaving just one or two fruits. Thinning gives the remaining apples enough space to grow and reach their full potential. Also, it helps to prevent limb damage that could occur due to heavy fruit loads.
Apple trees in this stage are more vulnerable to pests and diseases such as coddling moths and apple scabs. Hence, a regimen of pest control is a necessity. Apply an approved orchard spray every ten days. Natural alternatives, such as traps and barriers, can also be used for pest control.
Stage 8: Harvesting
Then comes everyone’s favorite time – harvest! Generally, apple trees bear fruit about 4 to 5 years from planting, but this depends on the apple variety and growing conditions. The key to quality apples lies not just in knowing when to pick them but also how to pick them.
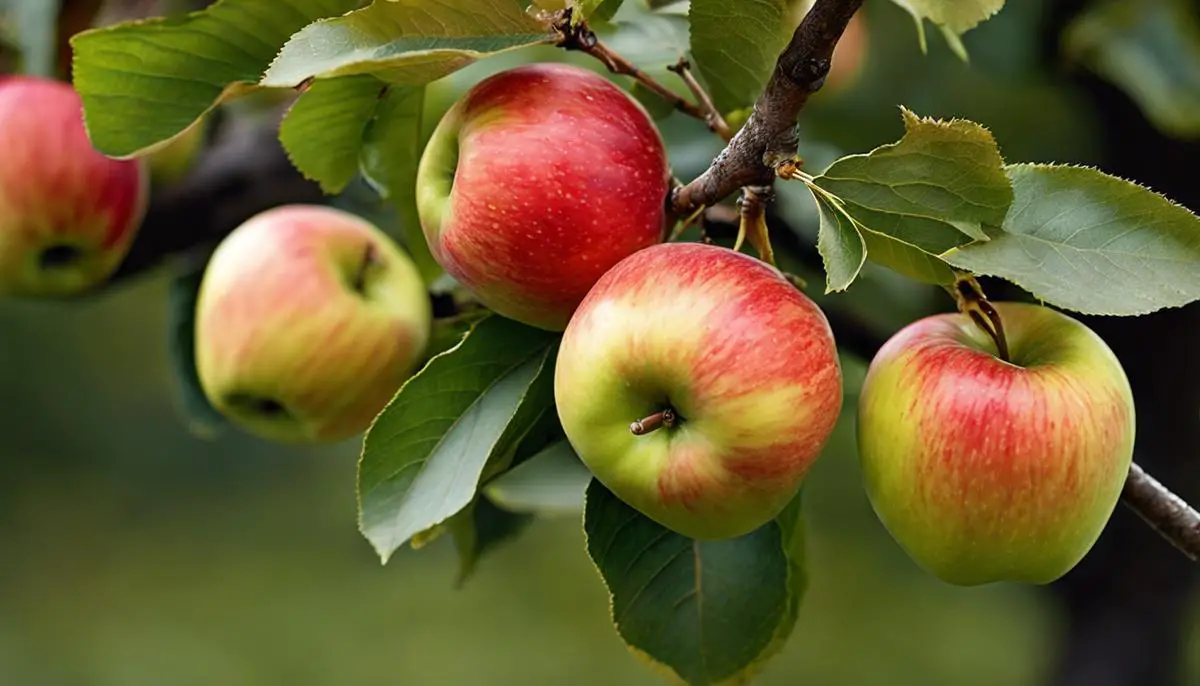
Apples ready for picking will come off the tree easily and won’t require tugging. They should be firm, brightly colored, and free from blemishes. To pick the apple, grasp it gently and give it a slight upward twist.
Once harvested, handle the fruit with care to avoid bruising. A bruised apple produces ethylene gas that can cause other apples in storage to ripen and spoil quickly. Most apple varieties store well in a cool, dark place.
There you have it, folks! A comprehensive playbook on how to provide optimal care for your apple trees through all their life cycles. Keep in mind, it takes a mix of passion, knowledge, and dedication to manage an apple tree. But seeing that first perfect, juicy apple is a thrilling reward all on its own. Happy gardening, and may your apple trees bear bountiful, beautiful fruits!

Harvesting Techniques and Storage
Title: A Beginner’s Guide on Harvest Techniques and Apples’ Proper Storage
To all apple cultivators, either growing apples in their home gardens or professionally in an orchard, it’s exciting to watch those pink, fragrant apple blossoms transform into juicy, delightful fruits. However, those apples don’t just jump willingly off the tree and into your apple basket — you must know when, how, and with what techniques to pick them.
One crucial factor in apple harvesting is timing. Generally, late summer through fall is often apple harvesting time, but this largely depends on the apple variety and your geographic location. Apples are usually ready for the picking when they become fully colored, which is a firm indication that the fruit has reached its full maturity stage. Another simple test is to cup an apple in the hand, lift it towards the stem, and twist. If it comes off easily, then it is harvest-ready.
The technique in which you harvest apples is as vital as knowing when to do it. Be gentle when picking, as rough handling can cause the fruits to bruise. Also, avoid yanking or pulling the apple off the branch, as that may cause the fruit spur to break off, which would prevent new fruits in that spot next year. A gentle twist-and-pull method works best.
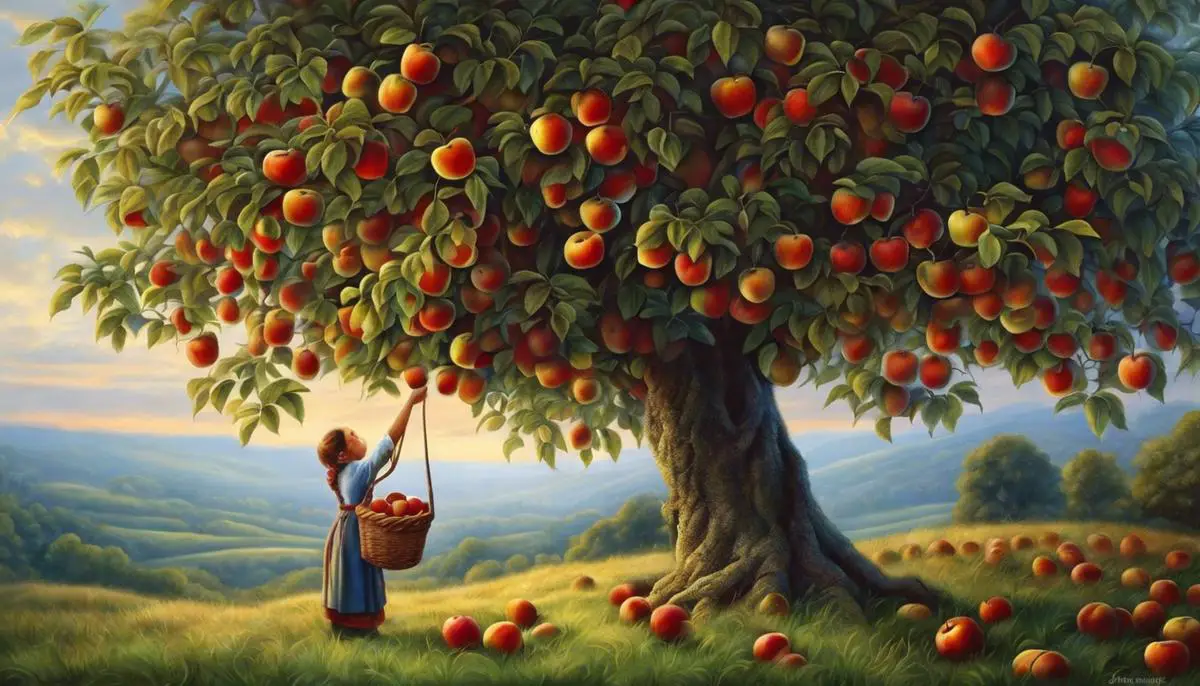
Once harvested, those beautiful apples need to be handled carefully to avoid bruising. A good method is to gently place the picked apples into your harvesting basket instead of tossing them in. Remember, the best apples are at the top of the tree. Use an apple picker, which is a small basket attached to a long handle, to reach those high branches.
After all your apples are picked, it’s time for storage. For longer shelf life, apples should be stored in cool, humid environments to retain moisture, slow down their ripening process and reduce shriveling. If you have a root cellar, that’s an ideal place. If not, a refrigerator will do. Place the apples in perforated plastic bags, ideally spread out and not stacked, to protect them from dehydrating too quickly.
Additionally, remember to do a quick check before placing the apples into storage. Any damaged or bruised apples should be separated and consumed immediately as they can quickly affect the surrounding fruit and lead to rot.
With these simple techniques, you are now all set to enjoy your apple harvest for months to come. Happy harvesting!

Deciphering the apple tree’s lifecycle, caring for their overall health, learning proficient harvesting techniques, and mastering the art of apple storage – these are all crucial elements in ensuring a successful and ceaseless yield of apples. Each component is a piece of a larger puzzle that, when complete, paints a comprehensive picture of how to effectively care for and harvest apple trees. By understanding and implementing these practices, individuals can expect to see thriving apple trees and bountiful, quality apple harvests. It’s an investment in knowledge that promises to yield rewarding dividends in more ways than one.