
The sublime balance between acidity and alkalinity, known as pH, plays a pivotal role in vinegar making, more specifically homemade apple cider vinegar. Understanding pH, its role, and the methods to accurately measure and adjust it opens new horizons for hobbyists and enthusiasts. In this exploration, we delve into the importance of pH, the ideal range for apple cider vinegar, and the dichotomy between acidity and alkalinity. Also, the use of pH meters for precise measurement and the process of conducting a pH test on your homemade apple cider vinegar will be discussed. Lastly, we will address the crucial task of adjusting your vinegar’s pH if it strays from the ideal range.
Understanding pH and Its Importance
Understanding pH and Its Importance in Vinegar Making
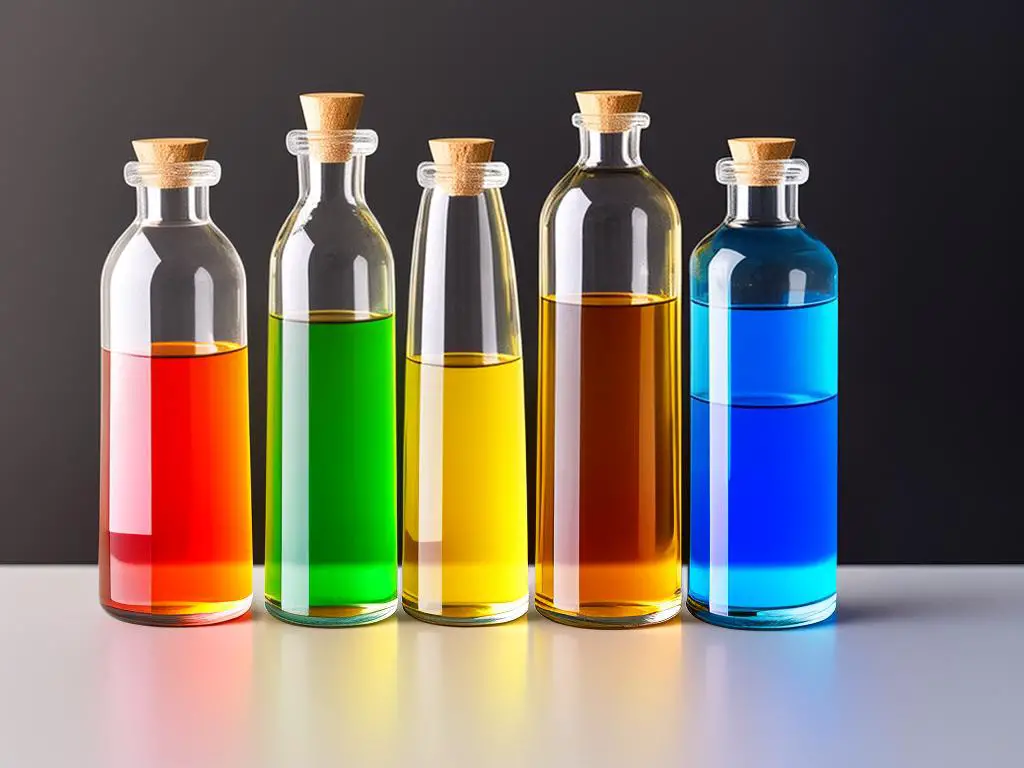
The acidity or alkalinity of a substance is measured by its pH value. Abbreviated from “potential of hydrogen,” the pH scale ranges from 0 to 14. In general, any substance with a pH lower than 7 is considered acid, while anything above 7 is alkaline, and a pH of 7 is considered neutral. This scaling is logarithmic, which means each point drop is a tenfold increase in acidity.
Vinegar making has a lot to do with pH balance because it’s a process of fermentation that involves acid-producing bacteria. In the case of apple cider vinegar, these bacteria consume the sugars in apple cider, making the resultant vinegar quite acidic.
Why is pH important for vinegar making? It’s because an acidic environment promotes the growth of these vinegar-producing bacteria, and inhibits the growth of harmful bacteria that could lead to spoiling or unsafe conditions.
Acidity vs Alkalinity
Acidity and alkalinity are two aspects of the same coin – the pH scale. As mentioned above, a substance is described as acidic if its pH measure is lower than 7 and alkaline if higher than 7. For instance, everyday items like tomato juice and lemon juice are acidic, whereas baking soda and sea water are alkaline.
Ideal pH for Apple Cider Vinegar
The ideal pH of apple cider vinegar is around 2.5 to 3.5, making it quite acidic. This not only adds to the sharp, sour taste characteristic of ACV, but also makes it a hostile environment for undesirable bacteria or yeast that could spoil it.
For homemade apple cider vinegar, keeping the pH within the desirable range ensures the safety and quality of the vinegar. This is why it’s so vital to measure the pH during the fermentation process.
Measuring pH of your Homemade Apple Cider Vinegar
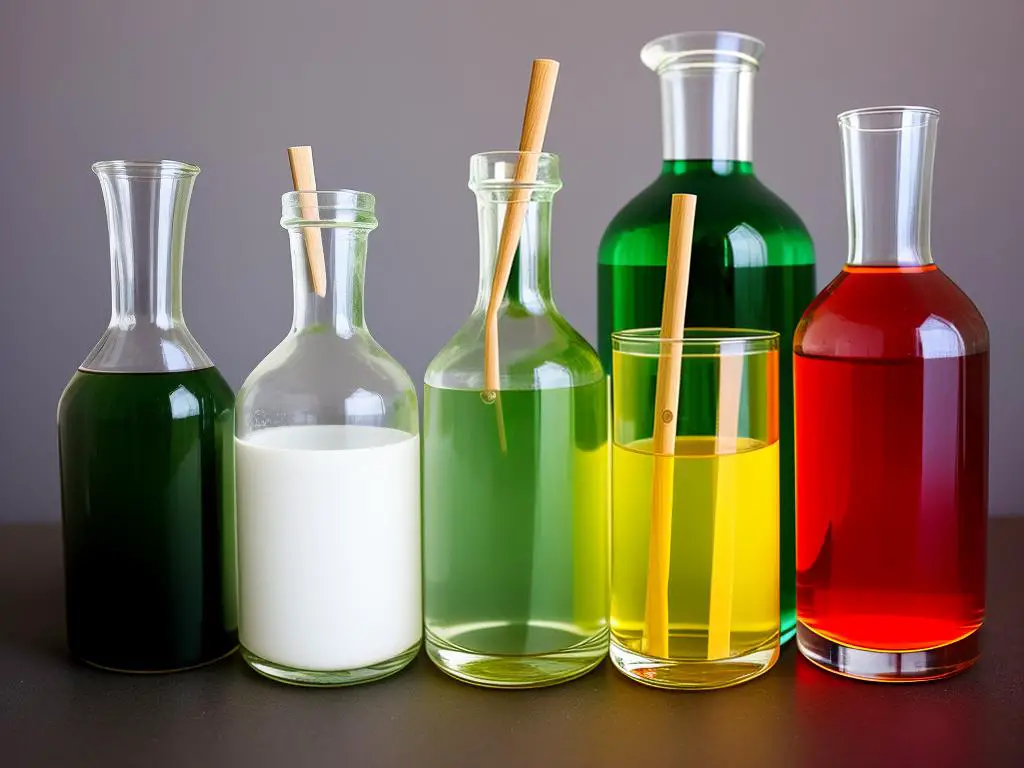
You can measure the pH of your homemade vinegar using pH strips or a pH meter. The process involves dipping the strip or the meter into your vinegar and waiting for it to return a value. Please follow the instructions on your pH measuring tool for the most accurate results.
Keep in mind that homemade vinegar may vary in pH, due to fluctuating fermentation conditions and the types of apples used. Regular pH measurement enables you to track the fermentation process and adjust as needed.
To sum it up, understanding and monitoring pH is a critical aspect of vinegar production. It not only guards against spoilage but also ensures that your homemade apple cider vinegar maintains its distinctive, sharp flavor.
Using pH Meters
Introduction to pH Meters
pH Meters are devices that measure the acidity or alkalinity of a substance. They work by generating a voltage that corresponds to the pH of the solution they’re measuring. The meter then translates this voltage into a pH reading, offering you insight into whether the solution is neutral, acidic, or alkaline. When it comes to making homemade apple cider vinegar, having a pH Meter is handy to determine its acidity, which helps confirm if it is ready for usage.
Calibrating Your PH Meter
Before you use your pH meter, it’s important to calibrate it for accurate readings. Here’s how:
- Begin by filling three separate beakers or cups with different buffer solutions of known pH levels – commonly pH 4.0, 7.0, and 10.0.
- Turn on the pH meter and immerse the probe into the pH 7.0 buffer solution.
- Allow the probe to stabilize, then set the pH meter to read 7.0.
- Rinse the probe with distilled water.
- Repeat the process with the other two buffer solutions (pH 4.0 and pH 10.0), adjusting the meter after the probe has stabilized in each one.
- After calibrating with all three solutions, your pH meter is now ready to use.
Using the PH Meter
To measure the pH of your homemade apple cider vinegar, follow these steps:
- Rinse the probe of the meter with distilled water and then dry it carefully.
- Dip the probe into a sample of your apple cider vinegar.
- Wait for the reading on the meter to stabilize; this could take a few minutes.
- Write down the reading displayed on the meter.
The ideal pH for apple cider vinegar is between 2.5-3.5. If your readings are outside of this range, your vinegar may need more time to ferment.
Maintaining Your PH Meter
To ensure your pH Meter provides accurate readings over time, proper maintenance is crucial. Here are some maintenance guidelines:
- Always rinse your pH meter’s probe with distilled or deionized water after each use to remove any residue.
- To prevent the probe from drying out, store it in a storage solution specific for pH probes. Never let it dry out.
- Regularly calibrate your pH meter as outlined above to guarantee consistent and accurate measurements.
With this knowledge in mind, you’re well-equipped to start using your pH meter to measure the acidity of your homemade apple cider vinegar accurately. Happy fermenting!
Conducting a pH Test on Homemade Apple Cider Vinegar
Measuring pH: An Essential Step in Making Homemade Apple Cider Vinegar
Making your own apple cider vinegar at home can be a satisfying and rewarding process. The key factor to producing a fine, delicious batch of apple cider vinegar lies in careful monitoring and adjustment of its pH level. The pH level is critical in preserving the acidity or alkalinity of your vinegar, which in turn affects its taste, shelf-life, and health benefits.
Understanding pH
Before we delve into how to test the pH of your homemade apple cider vinegar, it’s essential we understand what pH is. The pH scale ranges from 0 – 14, with 7 being neutral, anything below 7 as acidic, and anything above 7 as alkaline.
Materials Needed
- pH Strips or pH Meter
- A clean and dry container
- A dropper or spoon
- Pen and paper or a digital device for recording results
Steps to Test the pH of Homemade Apple Cider Vinegar
Step 1: Preparing Your Equipment
Thoroughly clean and dry your container and dropper before using them to prevent contamination. If using a pH meter, make sure it’s calibrated correctly.
Step 2: Extracting the Vinegar Sample
Use a dropper or a spoon to take a small sample of your apple cider vinegar and transfer it into the dry, clean container.
Step 3: Conducting the pH Test
If you’re using pH strips, simply dip the strip into the vinegar and wait for it to change color. The color it turns will correspond to the pH level of your vinegar.
Alternatively, if using a pH meter, immerse the tip of the meter in the vinegar sample and wait for the pH reading to stabilise, then record the resulting value.
Step 4: Interpreting the Results
Compare the color of your pH strip or the reading on your pH meter with the color chart or scale that comes with your testing kit to determine the pH of your apple cider vinegar.
Step 5: Recording Your Results
Write down or digitally record the pH level of your apple cider vinegar. It is important to keep record of your batches and their pH levels for future reference in order to consistently produce high quality apple cider vinegar.
Understanding and Learning from Your Results
Understanding the results of your pH test is key to improving your apple cider vinegar. If your vinegar’s pH is too high (less acidic), you could ferment it longer or add more apple scraps. If it’s too low (more acidic), it could mean the fermentation process was too long or there were too many apple scraps.
Remember, the ultimate goal is to create a product that’s safe and enjoyable for you. So try to find that perfect balance in the acidity level of your homemade apple cider vinegar. Happy fermenting!
Adjusting the pH of Your Vinegar
Understanding the Importance of pH in Vinegar Production
Vinegar, a staple in many kitchen pantries, holds a crucial role in cooking. One particularly popular variant is homemade apple cider vinegar, with its tantalizing tangy flavor and numerous health benefits. An essential consideration in ensuring its quality and safety is the pH level, deemed ideal between 2.5 and 3.5 to inhibit bacterial growth.
Testing the pH Level of Your Vinegar
Before adjusting features, confirm the necessity of this step by testing your vinegar’s pH. Acquire pH test strips from the local pharmacy or online and dip one into your vinegar. The strip should change colors, and you can compare this to the reference chart included with your strips.
Resultantly, if your pH is above 3.5, your vinegar is too alkaline; if below 2.5, it’s too acidic. Employ the following instructions to adjust accordingly.
Lowering the pH: Turning the Acid Dial Up
In the case where your vinegar provides too weak of an acid punch, you’ll want to lower the pH, making the solution more acidic. The perfect ingredient for the task? Lemon juice! A common kitchen staple, it has a lower pH (~2.0), pulling your vinegar’s pH down accordingly.
Here’s the procedure:
- Begin with 1/2 teaspoon of lemon juice.
- Stir thoroughly into your vinegar.
- Retest the pH. If still above the optimal range, add more lemon juice in small increments, stirring and retesting each time, until you reach the desired pH level.
Tip: Be cautious and patient as lemon juice can notably alter your vinegar’s taste.
Raising the pH: Decreasing the Acid
On the other hand, if your vinegar’s tauntingly tart, indicating it’s too acidic, you’ll need to raise the pH level. Baking soda (pH ~8.4), a seemingly magical substance with countless uses, can help here.
Caution: Baking soda reacts vigorously with vinegar, causing excessive fizzing. Add it sparingly!
Here’s how:
- Start with just a pinch of baking soda.
- Stir it into your vinegar – expect a lot of bubbling!
- Once the reaction subsides, retest your pH.
- If necessary, repeat the process, constantly checking the pH and vinegar flavor.
These substances – lemon juice and baking soda – allow you to fine-tune your vinegar’s pH while broadening your understanding of home food production. Keep in mind that changes must be done cautiously, always considering taste, as the pH level directly impacts the vinegar’s flavor and potency.
Through the journey of pH mastery, we have equipped you with the knowledge to consistently create safe and quality homemade apple cider vinegar. The power of understanding and controlling pH levels is immense and foundational to any vinegar-making process. We’ve delved into the intricacies of pH meters, their calibration, usage, and maintenance. Taking you step by step, we have interpreted the results with you, leading to greater confidence in your future vinegar-making endeavors. Furthermore, the crucial skills of recognizing and adjusting your vinegar’s pH level, ensuring it remains within the ideal range, have been imparted. This empowers you, the hobbyists and enthusiasts, to embrace the art of vinegar making with more sophistication, skill, and safety.