
Indulge in the sweet tradition of making caramel apples, a delightful treat that brings together the crisp, tangy crunch of apples and the smooth, buttery sweetness of caramel. Whether it’s for a festive gathering or a fun family activity, mastering the art of creating caramel apples can be both entertaining and rewarding. This comprehensive guide will help you navigate every step of the process, from understanding the ingredients and choosing the right equipment to perfecting your dipping technique and exploring various decoration ideas.
Understanding the ingredients
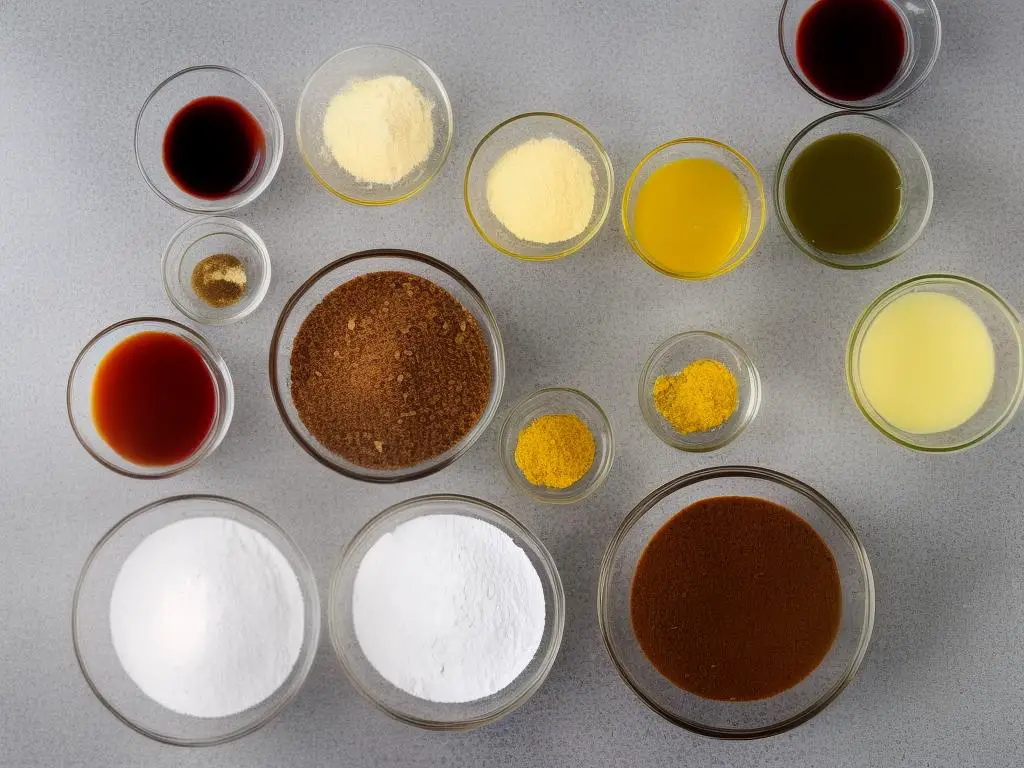
Making caramel for caramel apples requires a few simple ingredients. Each ingredient plays a crucial role in creating the perfect caramel coating for your apples. Let’s dive into understanding the primary ingredients involved in this recipe.
Sugar
The main ingredient in making caramel is sugar, usually granulated white sugar. Sugar is responsible for giving caramel its characteristic sweet taste and color. When sugar is heated, it undergoes a chemical process called caramelization. This process results in its color turning to a rich, golden brown and developing a deliciously sweet aroma.
Butter
Butter is another crucial ingredient in caramel recipes. It adds a rich, creamy flavor and a velvety texture to the caramel. It also aids in preventing the sugar from crystallizing as it melts. For the best results, use unsalted butter in your caramel recipe, as it allows you to control the salt level in your caramel.
Corn Syrup
Corn syrup is often added to caramel recipes to help prevent crystallization. Crystallization happens when sugar molecules stick together and form crystals. These crystals give the caramel a grainy texture, which is undesirable when you’re aiming for a smooth, shiny coating for your apples. Corn syrup, a type of invert sugar, hinders the sugar molecules from rejoining, thus avoiding crystallization.
Heavy Cream
Heavy cream is what gives caramel its creamy, rich texture. It is added to the sugar mixture after it has caramelized to create a thicker consistency. The fat in the cream combines with the sugar, butter, and corn syrup to form an emulsion, which gives the caramel a creamy, smooth consistency.
Salt
A small amount of salt is added to the caramel to enhance and balance the sweetness. It adds depth of flavor and prevents the caramel from tasting overly sweet. You can use regular table salt or opt for sea salt or kosher salt if you prefer a different flavor profile.
Vanilla Extract
Vanilla extract is an optional ingredient used to add depth and flavor to the caramel. It complements the flavors of the sugar, butter, and cream in the recipe and can elevate the taste of your caramel apples.
Now that you understand the primary ingredients involved in making caramel for caramel apples, you can confidently proceed with your recipe. Remember to follow the recipe instructions carefully and to use good-quality ingredients for the best results. Enjoy your delicious caramel apples!
Types of caramel
Types of Caramel: Wet Caramel vs. Dry Caramel
Before diving into a caramel for caramel apples recipe, it’s essential to understand the two primary types of caramel: wet and dry. Each type has its own characteristics and methods of preparation, and knowing the difference between the two will help you choose the best one for making caramel apples.
Wet Caramel:
Wet caramel is made by dissolving sugar in water and then cooking the mixture until it turns into a golden syrup. This type of caramel is typically smoother and more uniform in texture, which makes it a popular choice for many confectionery applications.
- Combine equal parts sugar and water in a saucepan, stirring gently until the sugar dissolves.
- Place the saucepan over medium heat and allow the sugar mixture to cook without stirring. You can swirl the pan to promote even heating, but do not use a spoon as it can cause crystallization.
- As the sugar begins to caramelize, you will notice its color turning from clear to light amber. Continue cooking until it reaches a deep amber color.
- Remove the caramel from heat, and carefully add any additional ingredients, such as butter or cream, to create your desired sauce or caramel.
Dry Caramel:
Dry caramel is made by melting sugar in a pan without the addition of water. This process can be a bit trickier, as the sugar is more prone to burning or crystallizing. However, the resulting caramel has a richer flavor and is perfect for applications that require a more robust flavor profile.
- Sprinkle a thin layer of sugar in the bottom of a saucepan, ensuring that it covers the entire surface evenly.
- Place the saucepan over medium-low heat and watch closely as the sugar starts to melt around the edges. You can gently swirl the pan to promote even heating.
- When the sugar has melted and turned light amber, sprinkle another thin layer of sugar on top of the melted sugar. Continue doing this until all the required sugar has been incorporated.
- Allow the sugar to cook, swirling the pan occasionally until it reaches a deep amber color.
- Remove the caramel from heat, and carefully add any additional ingredients, such as butter or cream, to create your desired sauce or caramel.
Best Caramel for Caramel Apples:
Because caramel apples require a smooth and evenly textured caramel coating that adheres well to the apples, wet caramel is generally a better option for this recipe. Wet caramel is more forgiving and provides the perfect consistency for dipping and coating apples. The addition of butter and cream in wet caramel recipes creates a delectably rich and creamy caramel, perfect for caramel apples.
Now that you understand the difference between wet and dry caramel, you’re ready to proceed with your caramel apples recipe using the best-suited caramel type. Enjoy the process and indulge in your delicious homemade caramel apples!
Cooking techniques
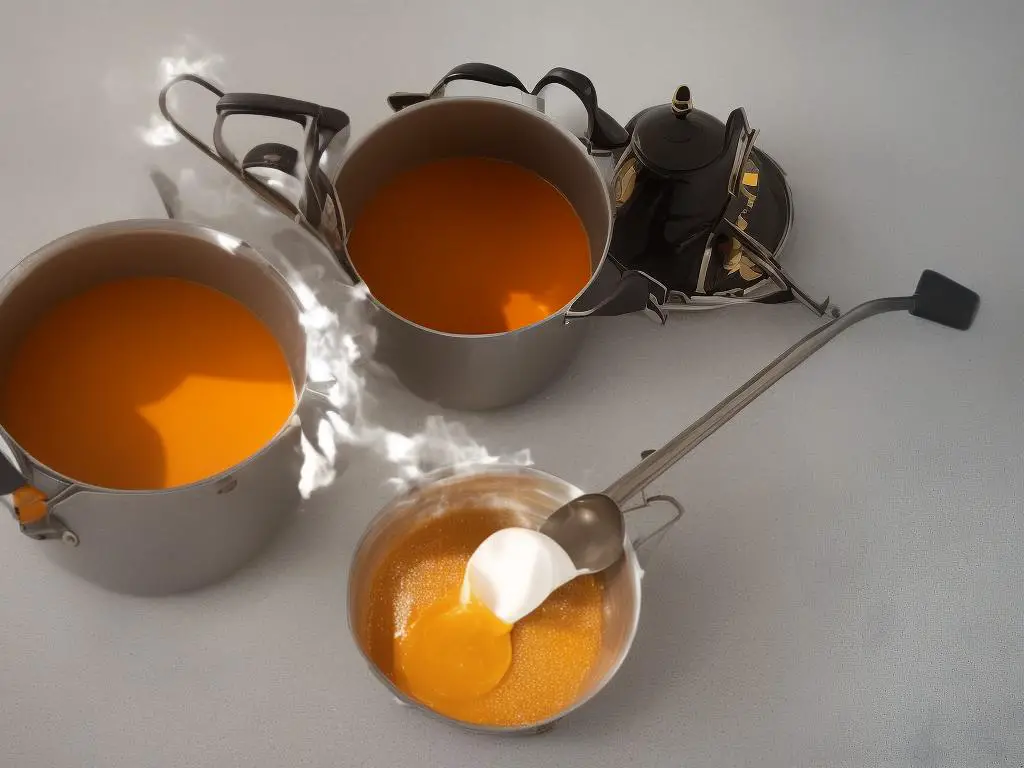
Caramel for Caramel Apples Recipe: Cooking TechniquesMaking caramel for caramel apples is a simple yet delicate process that requires careful attention to temperature and timing. Here is a step-by-step guide to help you learn the proper cooking techniques for making caramel:Gather your ingredients and toolsFor a basic caramel recipe, you will need:- 1 cup granulated sugar- 1/4 cup light corn syrup- 1/4 cup water- 1/2 cup heavy cream, warmed slightly- 1/2 teaspoon pure vanilla extract- 1/4 teaspoon saltYou will also need:- A medium to large heavy-bottomed saucepan- A candy thermometer- A wooden spoon or heat-resistant spatulaCombine sugar, corn syrup, and water in the saucepanPlace your saucepan over medium heat and add the sugar, corn syrup, and water to the pan. Stir gently until the sugar is dissolved. Be careful not to splash any mixture onto the sides of the pan, as this could cause crystallization.Monitor the temperatureClip your candy thermometer to the side of the saucepan, making sure the tip is submerged in the caramel mixture but not touching the bottom of the pan. This is important for ensuring an accurate temperature reading.Bring the mixture to a boilAllow the mixture to come to a boil without stirring. It’s essential not to stir the mixture during this process, as this can cause crystallization. Boiling allows the water to evaporate and the temperature of the mixture to rise.Watch for the “soft ball” stageAs the temperature rises, pay close attention to your candy thermometer. You will need to heat the sugar mixture to the “soft ball” stage, which ranges from 234°F to 240°F. The soft ball stage refers to the point at which a small amount of caramel dropped into cold water will form a soft, pliable ball that flattens easily when removed from the water.Remove from heat and add the cream, vanilla, and saltOnce the mixture reaches the soft ball stage, remove it from the heat. Gradually and carefully pour in the warmed heavy cream, stirring gently to combine. The mixture will bubble up, so be cautious to avoid burns. Add the vanilla extract and salt, stirring to combine.Cool the caramelAllow the caramel to cool slightly before dipping your apples (about 10-15 minutes). This will thicken the caramel and ensure it sticks well to the apples without dripping off too quickly.Dip your applesOnce the caramel has cooled to a suitable consistency, you can dip your apples, ensuring they are evenly coated. Place them on a parchment or wax paper-lined baking sheet to set.Remember that the key to making perfect caramel is carefully monitoring the temperature and avoiding any form of stirring or agitation during the boiling process. By following these steps, you’ll have delicious caramel apples in no time. Enjoy!
Dipping and coating apples
Ingredients:
- 6 medium-sized apples (preferably tart apples like Granny Smith)
- 1 cup of heavy cream
- 1 cup light corn syrup
- 2 cups granulated sugar
- 1/2 cup unsalted butter
- 1 teaspoon pure vanilla extract
Supplies:
- Popsicle sticks or wooden skewers
- Parchment paper
- Cooking spray
- Candy thermometer
- A deep saucepan
Instructions:
- Prepare the apples: Wash and thoroughly dry the apples. Remove any stems, then insert a Popsicle stick or wooden skewer into the top of each apple, where the stem used to be. Ensure the sticks or skewers are firmly placed and will hold the weight of the apple when lifted. Set apples aside.
- Prepare the surface: Line a baking sheet with parchment paper and lightly spray with cooking spray. This will prevent the caramel dipped apples from sticking to the surface.
- Make the caramel: In a deep saucepan, combine heavy cream, corn syrup, granulated sugar, and unsalted butter. Cook over medium heat, stirring occasionally, until the mixture reaches 245°F (118°C) on a candy thermometer. This will take approximately 15-20 minutes. Be sure to keep a close eye on the caramel to avoid burning.
- Add flavor: Once the desired temperature has been reached, remove the saucepan from the heat and stir in the vanilla extract.
- Let the caramel cool slightly: Allow the caramel to cool for about 2-3 minutes, just until it begins to thicken. This will make it easier to coat the apples without the caramel dripping off too much.
- Dip and coat the apples: Hold an apple by the stick or skewer, and carefully dip it into the caramel. Tilt and rotate the apple to ensure it’s evenly coated. Make sure to cover the entire apple, taking it all the way up to the base of the stick or skewer.
- Remove excess caramel: Lift the coated apple out of the caramel, allowing any excess to drip off for a few seconds. Gently scrape the bottom of the apple against the side of the saucepan to get rid of any excess caramel.
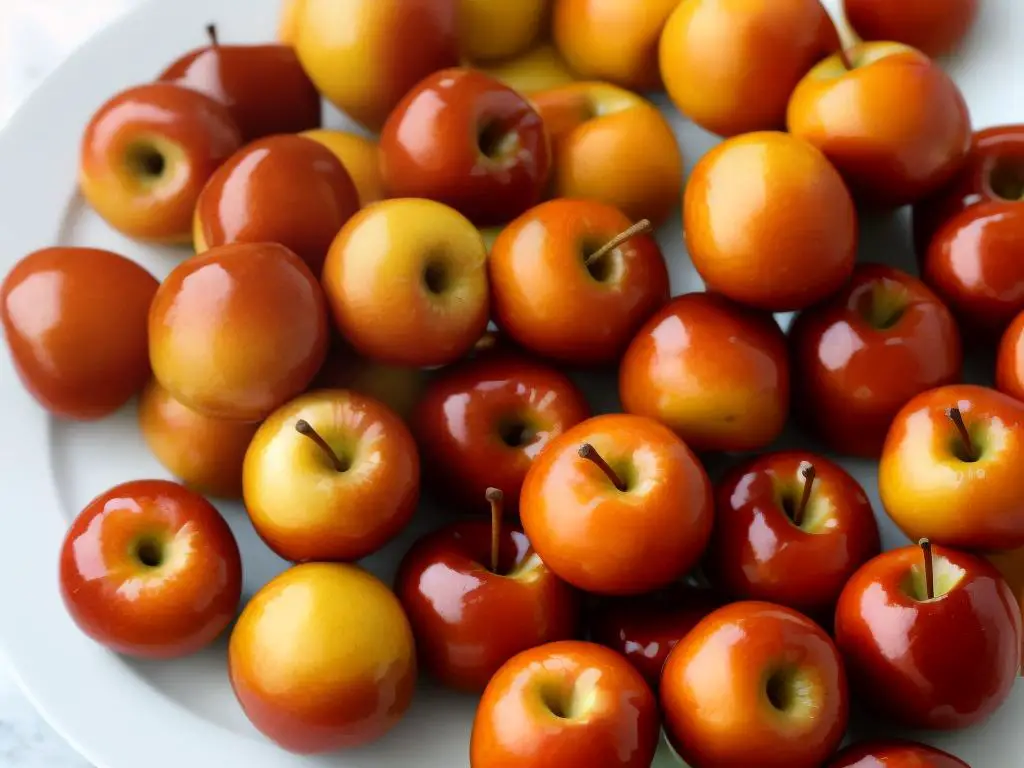
- Place the coated apples on the prepared surface: Gently place the dipped apple onto the parchment paper-lined baking sheet. Repeat this process with the remaining apples, ensuring they are spaced out on the sheet.
- Let the apples set: Allow the caramel-coated apples to sit at room temperature for at least 30 minutes, or until the caramel has completely hardened.
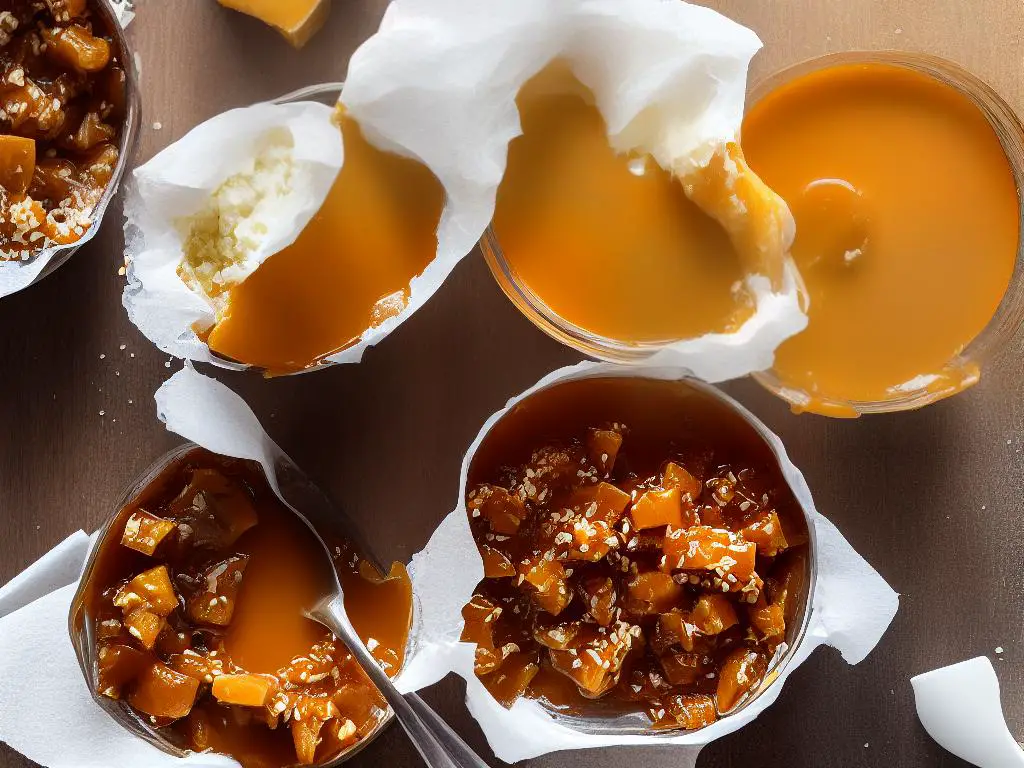
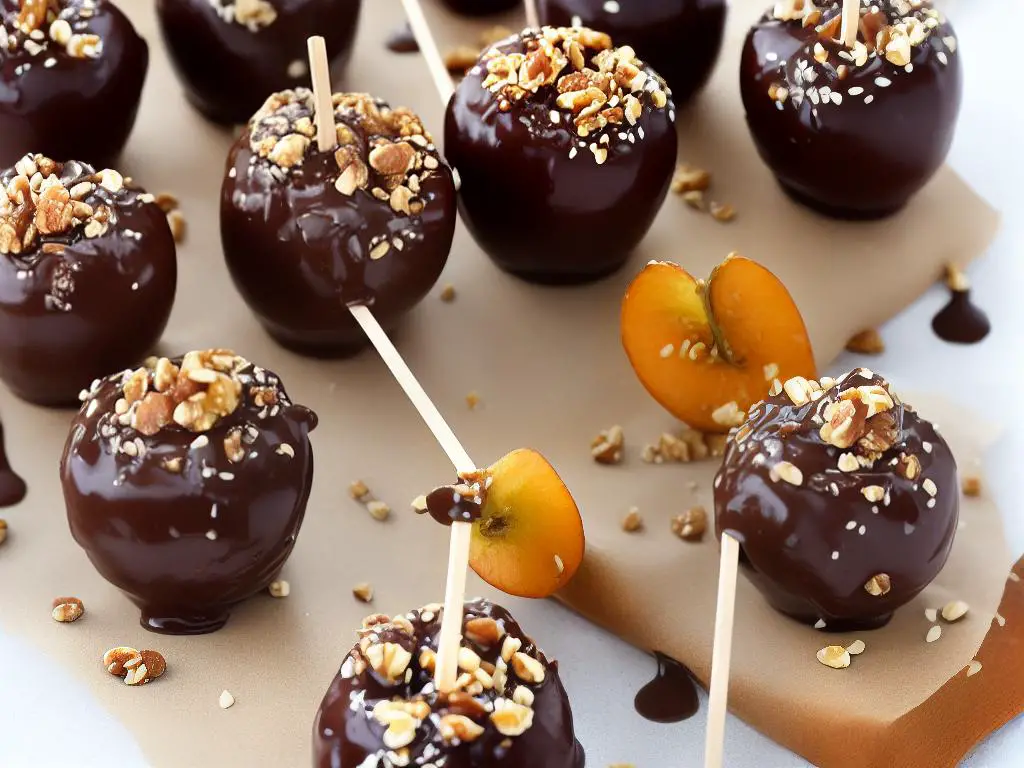
- Enjoy your homemade caramel apples! If desired, you can also add toppings such as crushed nuts, sprinkles, or chocolate drizzle once the caramel has set. Store any leftovers in an airtight container in the refrigerator for up to a week.”
Safety precautions
When making caramel for caramel apples or any other recipe, it is essential to take proper safety precautions to avoid burns and other hazards associated with working with hot caramel. Here are some important safety tips to follow:Wear appropriate clothing: Before you get started on your caramel recipe, make sure to wear clothing with long sleeves and an apron to protect your skin from hot caramel splashes. Avoid loose or hanging clothes, as they can catch onto pot handles or get too close to the heat source.Keep the working area clean and clear: Ensure your working area is tidy and free of clutter, allowing you to move freely. Keep all flammable materials, such as paper towels or oven mitts, away from the heat source to prevent accidental fires.Use the right tools: When making caramel, use a heavy-bottomed saucepan to ensure even heat distribution and prevent the caramel from burning. Use a wooden spoon or a silicone spatula to stir, as plastic tools can melt in high heat. Additionally, using pot holders or oven mitts will help protect your hands when handling hot pots and pans.Be cautious with the heat: Making caramel requires heating sugar to high temperatures, which can cause burns if not handled carefully. Start with low to medium heat to avoid sudden overheating, gradually increasing the heat if required. Do not leave the caramel unattended while cooking, and frequently stir to ensure even cooking and prevent burning.Use a candy thermometer: Investing in a candy thermometer can help you monitor the caramel’s temperature more accurately, ensuring it reaches the desired stage without getting burnt. It is crucial to remove the caramel from heat when it reaches the correct temperature to prevent overcooking.Be mindful of steam: When adding ingredients, such as butter or cream, to the hot caramel, there can be a release of steam, which can cause burns. To avoid this, gently add the ingredients in small increments, stirring constantly, and stand back to avoid any sudden steam release.Know how to treat burns: If you accidentally come into contact with hot caramel, immediately run the affected area under cold water for at least 20 minutes. Do not use ice, as this can damage the skin further. Seek medical attention for severe or extensive burns.Keep children and pets away: Ensure that children and pets are kept at a safe distance from the cooking area, as they may accidentally knock over pots or get too close to the hot caramel.Store leftover caramel safely: Allow any remaining caramel to cool to room temperature before transferring it to an airtight container for storage. This will prevent burns if someone accidentally touches the hot caramel.By following these safety precautions, you can enjoy making caramel apples or other caramel-based dishes without any risks or hazards. Happy cooking!
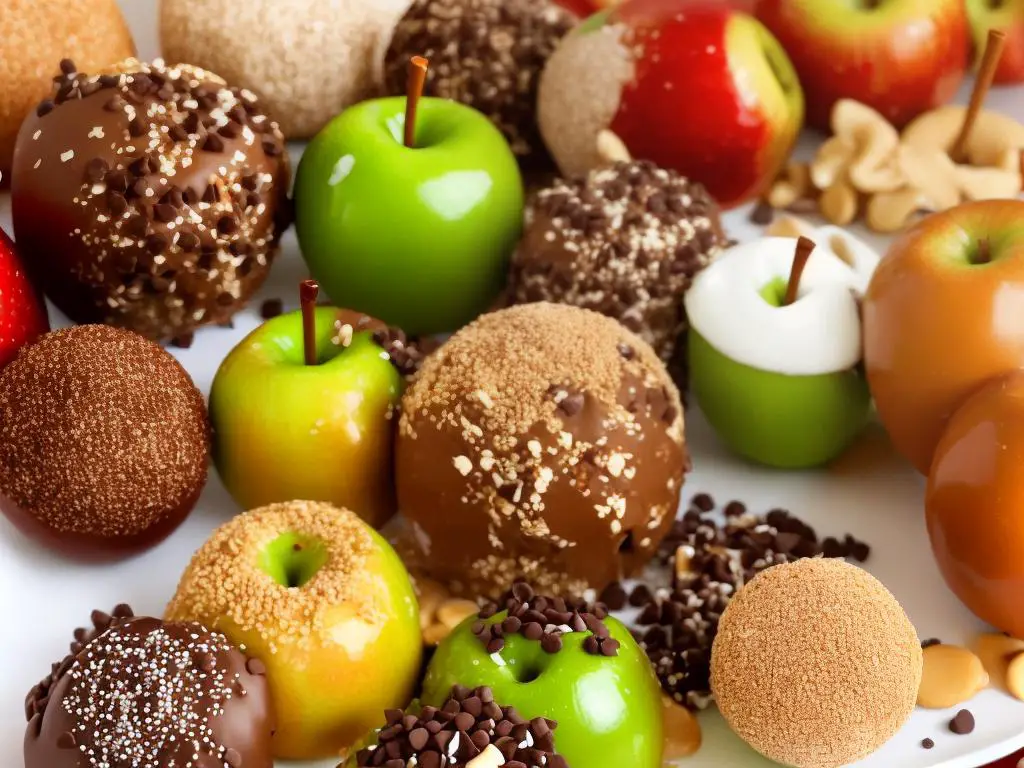
Decoration and toppings
Making caramel apples is a fun and delicious activity that you can enjoy with your friends and family. With a variety of decoration and topping options, everyone can create their own unique and tasty caramel apple. Here’s a step-by-step guide on how to make caramel for caramel apples and then explore different decoration and topping ideas.Ingredients:
– 6 to 8 apples
– 14 oz package of caramels
– 2 tablespoons water
– Wooden skewers or sticks
– Assorted toppings such as nuts, sprinkles, chocolate chips, and crushed cookiesInstructions:
1. Start by washing and drying the apples thoroughly. Remove the stems and insert wooden skewers or sticks into the top of each apple.
2. Unwrap the caramels and place them in a microwave-safe bowl along with the 2 tablespoons of water. Microwave the caramels in 30-second intervals, stirring in between each interval until the caramel is smooth and melted.
3. Carefully dip each apple into the melted caramel, allowing any excess caramel to drip off the apple back into the bowl. Place the dipped apples onto a parchment-lined baking sheet. Allow the caramel to set for a few minutes before proceeding with decoration and toppings.
Decoration and Toppings Ideas:
*Note: Make sure to have your desired toppings prepared and laid out on flat plates or trays before decorating the apples.*
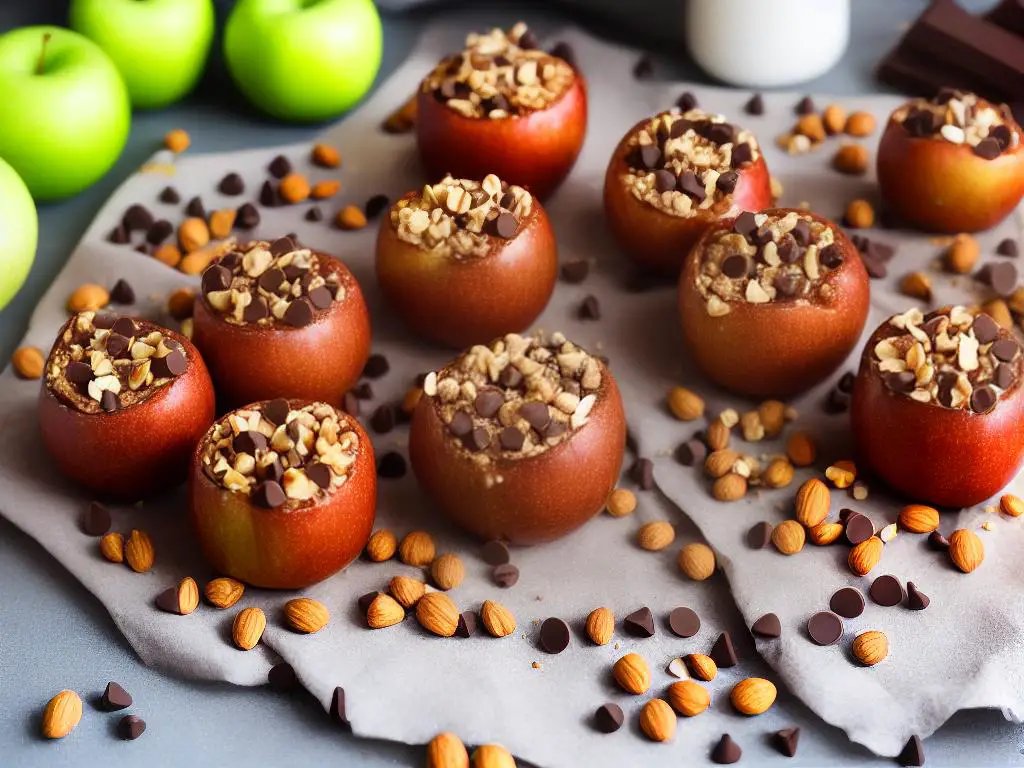
1. Crushed Nuts: Chop or crush your choice of nuts (such as peanuts, pecans, almonds, or walnuts) and spread them out on a flat plate. Roll the caramel apple in the nuts, pressing gently to ensure the nuts stick to the caramel.
2. Sprinkles: Spread a variety of sprinkle colors and shapes onto a flat plate. Roll the caramel apple in the sprinkles, pressing gently to ensure they stick to the caramel.
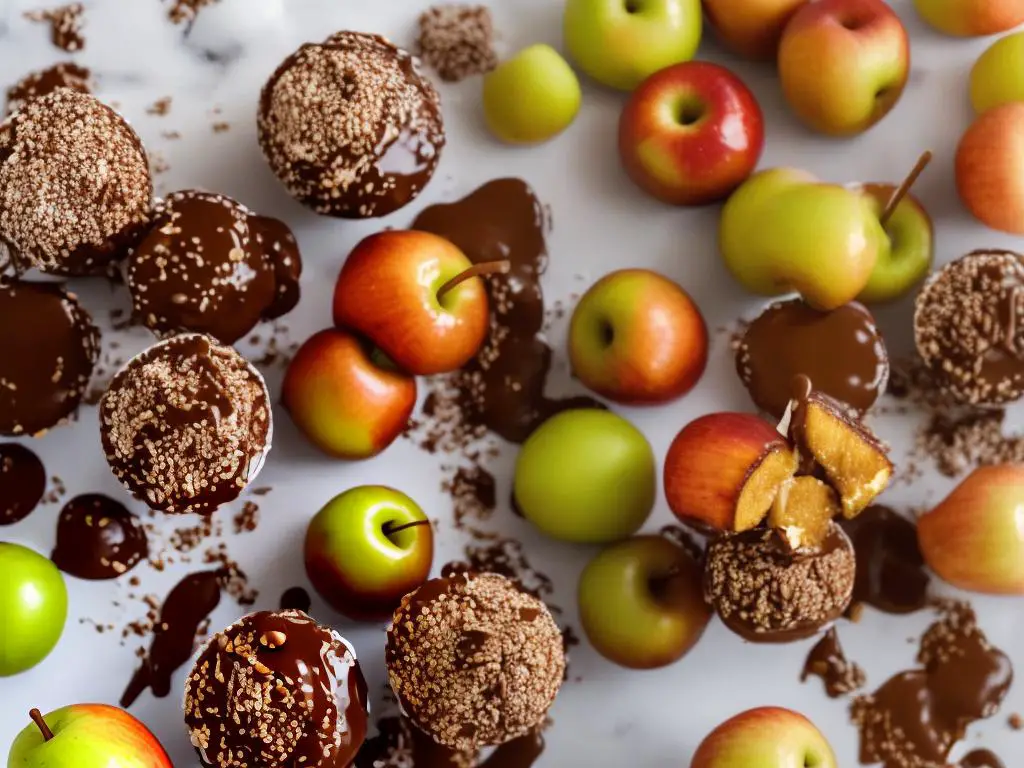
3. Chocolate Drizzle: Melt milk, dark, or white chocolate in a microwave-safe bowl, following the same procedure as melting caramels. Use a fork or spoon to drizzle the melted chocolate over the caramel apple in a zigzag or spiral pattern. Place the apple on the parchment-lined baking sheet and allow the chocolate to set.
4. Crushed Cookies: Place your favorite cookies in a plastic bag and crush them into small pieces using a rolling pin. Spread the crushed cookies onto a flat plate and roll the caramel apple in the cookie pieces, pressing gently to ensure they stick to the caramel.
5. Mini Chocolate Chips: Spread mini chocolate chips onto a flat plate and roll the caramel apple in the chocolate chips, pressing gently to ensure they stick to the caramel.
6. Coconut: Spread shredded coconut onto a flat plate and roll the caramel apple in the coconut, pressing gently to ensure it sticks to the caramel.
7. Candy Pieces: Chop up your favorite candy bars or gummies and spread them out on a flat plate. Roll the caramel apple in the candy pieces, pressing gently to ensure they stick to the caramel.
After decorating your caramel apples with the desired toppings, place them back onto the parchment-lined baking sheet to allow the toppings to set completely. Once set, you can either serve the caramel apples immediately or wrap them in cellophane for easy gifting. Enjoy your delicious and personalized caramel apples!
Storing caramel apples
Allow caramel apples to cool completely: After making your caramel apples, allow them to cool completely before attempting to store them. This will help prevent the caramel from becoming too sticky or runny when stored.Prepare the apples for storage: Line a baking sheet or tray with non-stick parchment paper or wax paper. This will prevent the caramel apples from sticking to the surface when stored.Place the caramel apples on the lined tray: Arrange the caramel apples in a single layer on the lined tray, ensuring they aren’t touching each other to prevent the caramel from sticking together.Cover the caramel apples: To prevent the caramel apples from drying out, cover them loosely with plastic wrap or aluminum foil. This will help keep the apples fresh and the caramel from becoming too hard.Refrigerate the caramel apples: Place the tray of caramel apples in the refrigerator for at least 2 hours to set the caramel before storing. This will ensure the caramel hardens and the apples remain crisp.Package the caramel apples individually: If you’re storing the caramel apples for an event or gifting them, wrap each apple individually in cellophane or plastic wrap, taking care to fold the ends under the apple to secure it. For added protection, use a ribbon or twist-tie to secure the wrapper around the stick. This will help to keep the caramel apples fresh and prevent any cross-contamination.Store the caramel apples in the refrigerator: Once the caramel apples are individually wrapped, store them in the refrigerator until you’re ready to serve or gift them. This will help to keep the apples crisp and the caramel from becoming too soft.Consume within one week: For optimal freshness and taste, consume caramel apples within one week of making them. If stored properly, you can keep enjoying them throughout the week without any loss of quality.Serving the caramel apples: When you’re ready to enjoy the caramel apples, take them out of the refrigerator and let them sit at room temperature for about 10-15 minutes before serving. This will soften the caramel slightly, making it easier to bite into, but not so soft that it becomes a messy, sticky treat.
Cleanup and maintenance
Proper cleanup and maintenance of your workspace and caramel making equipment will not only ensure a sanitary cooking environment but will also prolong the life of your tools. Here are some steps to effectively clean up your workspace and care for your caramel making equipment:
- Clear the workspace: After preparing the caramel apples, clear your workspace by removing any used utensils, bowls, parchment paper, spoons, or other tools. Throw away any trash or used materials.
- Soak the caramel pot: Fill your caramel pot with warm water and a few drops of dish soap. Allow it to soak for at least 20 minutes. This will help loosen any caramel residue, making it easier to clean. Do not use metal scrubbers or abrasive cleaners as they may damage the pot’s surface.
- Clean utensils and tools: Wash any spoons, candy thermometers, measuring cups, and other tools that came into contact with caramel. Place them in warm, soapy water and gently clean using a soft sponge or cloth. Rinse with clean water and dry thoroughly.
- Clean the stovetop and surrounding areas: After your caramel pot has soaked, clean your stovetop and surrounding areas. Using a damp cloth or sponge, remove any splatters, spills, or leftover caramel from the surface. If necessary, apply a gentle cleanser to the cloth or sponge to help remove more stubborn residue.
- Clean the caramel pot: After soaking, scrub the interior of the pot using a soft sponge or cloth until all caramel residue is removed. Rinse the pot thoroughly with clean water and then dry using a soft towel.
- Store your tools and equipment properly: Once you have cleaned all your caramel making equipment, store them in a dry, cool place. Make sure all items are completely dry before putting them away to avoid any mold or mildew growth.
- Sanitize the workspace: To maintain a sanitary cooking environment, use disinfectant wipes or a sanitizing solution to clean your countertop, cutting board, and any other surfaces that may have come into contact with food or cooking materials.
- Appropriate disposal of leftover caramel: If you have any leftover caramel in your pot or on your tools, do not pour it down the drain as it may cause clogging. Instead, allow the caramel to harden in the pot or on parchment paper and then discard it in the trash.
By following these simple steps, you can ensure the cleanliness of your workspace and the longevity of your caramel making equipment. Enjoy your delicious caramel apples and be ready for more tasty treat-making in the future!

Preparing apples
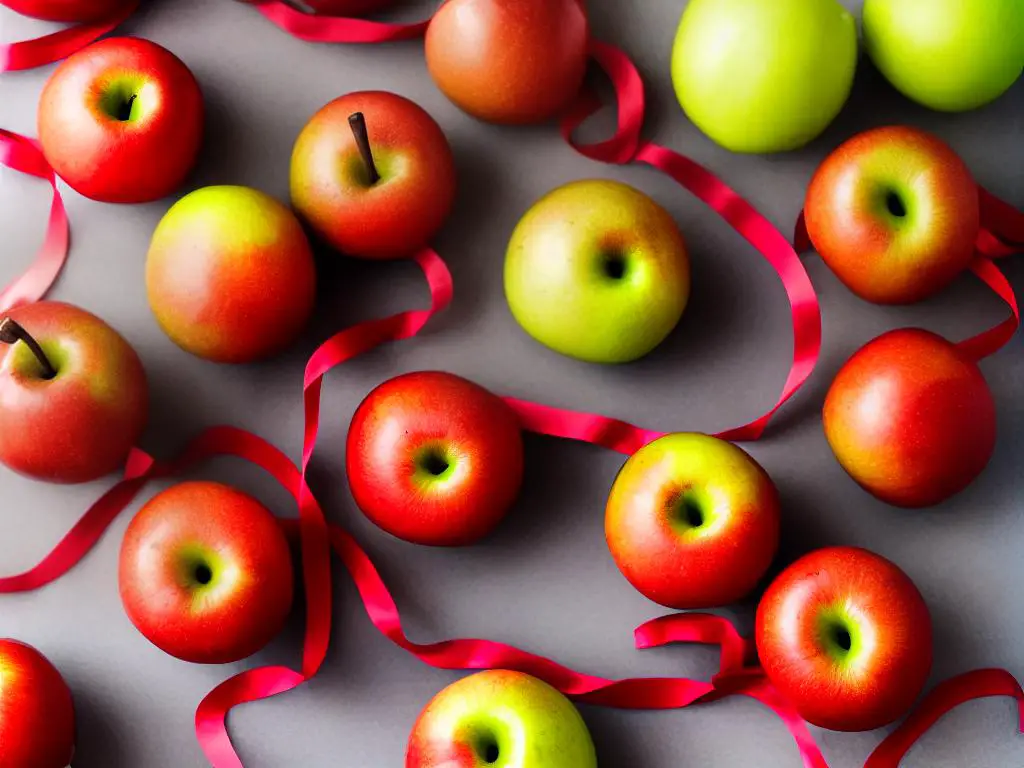
Selecting the best apples:
- Choose the right apple variety: For caramel apples, you want to use firm, tart apples which will provide a good balance of taste and texture with the sweet and chewy caramel. Granny Smith apples are the most popular choice, but Honeycrisp, Braeburn, or Golden Delicious apples also work well.
- Check for freshness: The fresher the apple, the better the taste and texture. Look for apples that are firm to the touch and don’t have any soft spots or bruises. The skin should be smooth and shiny, without any wrinkles or blemishes.
- Pay attention to size: Pick apples that are medium to large in size for the best ratio of caramel to apple. Smaller apples will have too much caramel, while larger apples may not have enough caramel to cover the entire surface.
Preparing the apples:
- Wash the apples: Remove any dirt, bacteria, or pesticides from the apples by rinsing them under cool running water. You can also use a produce wash or a mixture of vinegar and water (1 part vinegar to 3 parts water) to clean them more thoroughly.
- Dry the apples: Use a clean kitchen towel or paper towels to pat the apples dry. Be sure to remove all moisture, as any residual water might prevent the caramel from sticking properly to the apples.
- Remove the stems: Gently twist and pull the apple stems out from the top of the apples. This will create a small opening where you can insert the sticks later on.
- Insert sticks/skewers: Choose wooden craft sticks, bamboo skewers, or lollipop sticks to insert into the apples. Gently press the stick into the top of the apple, where the stem used to be, until it’s about halfway into the apple. Be careful not to push the stick all the way through the apple, as this might cause it to split or become unstable.
Picking the right equipment
Making caramel apples requires the right tools and equipment to ensure a delicious and safe outcome. Here’s a list of equipment you’ll need, along with tips for choosing the best tools for the job:
- Candy thermometer: A candy thermometer is essential for measuring the temperature of the caramel as it cooks. Look for a thermometer with a temperature range of 100 to 400°F. Choose one with an adjustable clip so it can attach to the side of your saucepan, allowing you to monitor the caramel temperature without having to hold it in the hot pan.
- Heavy-bottomed saucepan: A heavy-bottomed saucepan with high sides helps prevent the caramel from scorching and provides enough room for the sugar mixture to bubble and expand as it cooks. An ideal saucepan for caramel apples should be at least 3-quarts in size.
- Wooden spoon or heat-resistant silicone spatula: Use a wooden spoon or a silicone spatula to stir the caramel as it cooks. Both of these materials can withstand high temperatures, and they are less likely to scratch your saucepan than a metal utensil.
- Dipping tools: Once the caramel is ready, you’ll need a tool to help dip your apples. You can use sturdy craft sticks or wooden popsicle sticks, which are available at most grocery and craft stores. Alternatively, you can use caramel apple branch sticks for a more rustic look.
- Baking sheet and parchment paper: Prepare a baking sheet lined with parchment paper to place your dipped apples on while the caramel hardens. The parchment paper prevents the caramel from sticking to the baking sheet.
- Apple slicer/corer: While not a requirement, an apple slicer/corer can make it easier to cut and core your apples if you prefer to make caramel apple slices rather than dipping whole apples.
- Saucepan for melting chocolate (optional): If you plan to drizzle your caramel apples with chocolate, you’ll need a small saucepan for melting the chocolate. You can also opt for a double boiler or microwave-safe bowl if you prefer to melt your chocolate using those methods.
- Toppings (optional): If you want to add toppings to your caramel apples, such as crushed nuts, mini chocolate chips, or sprinkles, have small bowls or plates ready to hold your toppings for easy dipping.
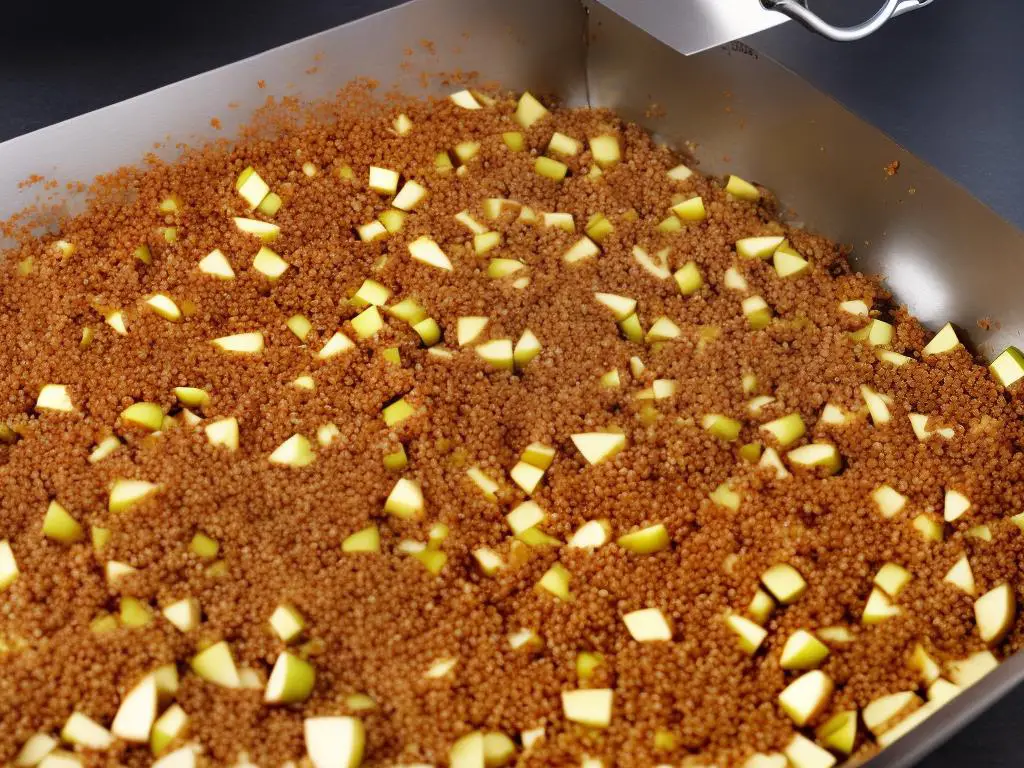
Troubleshooting common issues
Grainy Caramel:
– Grainy caramel is often caused by undissolved sugar or crystallization. Here’s how to troubleshoot:
a. Make sure to dissolve the sugar completely before bringing the mixture to a boil. Stir the sugar and liquid over low to medium heat until sugar is fully dissolved.
b. Avoid stirring the caramel once it comes to a boil, as this can cause crystallization. If you need to mix the caramel, gently swirl the pan instead.
c. Occasionally wash down the sides of the saucepan with a pastry brush dipped in water to prevent sugar crystals from forming.
Caramel that Won’t Stick to Apples:
– If your caramel won’t stick to the apples, try the following solutions:
a. Make sure the apples are washed, dried, and free from wax. Wax on the apple surface can prevent the caramel from sticking. Using warm water with a little vinegar will help in removing the wax.
b. Refrigerate the apples before dipping them in caramel. Cold apples will help the caramel set more quickly.
c. Allow the caramel to cool slightly before dipping the apples, as caramel that is too hot can slide off the apples.
Caramel that is Too Runny:
– If your caramel is too thin or runny, follow these tips:
a. Make sure to cook the caramel to the correct temperature. Using a candy thermometer, cook the caramel to the “firm ball” stage, between 245°F and 250°F.
b. If the caramel seems too thin after reaching the correct temperature, continue to cook it for a few more minutes to evaporate more liquid and thicken the caramel.
c. Allow the caramel to cool slightly before dipping the apples, as caramel will thicken as it cools.
Caramel that is Too Thick:
– If your caramel is too thick, follow these suggestions:
a. Make sure to cook the caramel to the correct temperature. Undercooking the caramel can result in a thicker consistency.
b. Try adding a small amount of heavy cream or milk to the caramel to thin it out. Start by adding a tablespoon at a time and mix until it reaches the desired consistency.
c. Gently heat the caramel while stirring if it has become too thick after cooling. This will help thin it out for easier dipping.
Remember, practice makes perfect! Experiment with different techniques and adjustments to find your perfect caramel recipe for caramel apples.
Bonus: Different caramel recipes
Ingredients:
- 1 cup butter (2 sticks)
- 2 cups packed light brown sugar
- 1 cup light corn syrup
- 1 can (14 oz) sweetened condensed milk
- 1 teaspoon vanilla extract
- Pinch of salt
- 6-8 apples (such as Granny Smith or your preferred type)
- Wooden sticks or skewers
Instructions:
- First, prepare your apples by washing them and removing the stems. Insert a wooden stick or skewer into the top of each apple where the stem was. Place the prepared apples on a parchment paper-lined baking sheet and set aside.
- In a medium-sized, heavy-bottomed saucepan, melt the butter over medium heat.
- Once the butter is melted, add the packed light brown sugar, light corn syrup, and pinch of salt. Stir the ingredients together and cook until the mixture starts to bubble.
- Gradually add the sweetened condensed milk into the saucepan, stirring continuously to ensure a smooth mixture.
- Attach a candy thermometer to the saucepan and allow the caramel to cook, stirring frequently to prevent scorching, until it reaches 245°F (also known as firm-ball stage).
- Remove the saucepan from the heat and carefully stir in the vanilla extract.
- Allow the caramel to cool for 2-3 minutes before dipping the apples. This will help prevent the caramel from sliding off the apples.
- Hold each apple by the wooden stick and dip it into the caramel, making sure to completely coat the apple. Gently twist and turn the apple to remove any excess caramel.
- Place the coated apples on the parchment paper-lined baking sheet and allow them to cool completely. This will take about 20-30 minutes. The apples can be refrigerated to speed up the process.
- Once the caramel has set and hardened, enjoy your homemade caramel apples!
Bonus: Different Caramel Recipes
- Salted Caramel: Add 1 teaspoon of sea salt to the caramel recipe above, and sprinkle additional sea salt on top of the apples after coating them with caramel.
- Chocolate Caramel: Stir in 1 cup of semi-sweet chocolate chips to the caramel after removing it from the heat and melting them completely.
- Spiced Caramel: Add 1-2 teaspoons of ground cinnamon and a pinch of nutmeg to the caramel recipe above for a warm, spiced flavor.
- Maple Caramel: Replace the light corn syrup in the original recipe with an equal amount of pure maple syrup for a delicious maple twist.
- Coffee Caramel: Dissolve 2 tablespoons of instant coffee or espresso powder in the sweetened condensed milk before adding it to the caramel mixture.
Remember, you can always add your favorite toppings like nuts, sprinkles, or crushed cookies to your caramel apples for added texture and flavor! Enjoy the endless possibilities of customizing your caramel apples.

Practice and experimentation
Gather your ingredients and supplies:
- 1 cup (200g) granulated sugar
- 1/4 cup (60ml) water
- 1/2 cup (120ml) heavy cream
- 2 tablespoons (28g) unsalted butter
- 1 teaspoon (5ml) pure vanilla extract
- Pinch of salt
- 5 medium apples (preferably tart, firm apples like Granny Smith)
- 5 wooden sticks or skewers
- Toppings of your choice (such as nuts, chocolate chips, or crushed cookies)
- Baking sheet lined with parchment paper or a silicone mat
- Medium, heavy-bottomed saucepan
- Candy thermometer
Prepare the apples:
- Wash and dry your apples thoroughly.
- Remove the stems and insert a wooden stick or skewer into the top of each apple, about halfway in.
Make the caramel:
- In your saucepan, combine sugar and water, ensuring the sugar is fully soaked.
- Cook over medium heat, stirring occasionally, until the sugar has dissolved and the mixture is clear.
- Increase the heat to medium-high and let the mixture come to a boil. Do not stir at this point.
- Let the sugar mixture boil, without stirring, until it reaches a light amber color (about 330°F/165°C on a candy thermometer). This may take around 8-10 minutes.
- As the sugar boils, you can lightly brush the sides of the saucepan with a wet pastry brush to prevent sugar crystals from forming.
Add cream and butter:
- Once the sugar has reached the desired color, remove the saucepan from the heat and carefully add the heavy cream. The mixture will bubble up, so take caution.
- Stir in the butter, vanilla extract, and pinch of salt. The caramel should be smooth and creamy.
Allow the caramel to cool slightly:
- Let the caramel cool for about 5 minutes before dipping your apples. This will help the caramel thicken, making it easier to coat the apples.
Dip the apples:
- Hold an apple by the stick and dip it into the caramel, coating the apple entirely.
- Lift the apple out of the caramel, allowing any excess to drip back into the saucepan.
- If you’re adding toppings, quickly roll the caramel-coated apple in the topping before the caramel sets.
Set the dipped apples:
- Place the dipped apples on the prepared baking sheet, allowing them to set for approximately 15-20 minutes at room temperature.
Storage and serving:
- If you’re not serving the caramel apples immediately, you can store them in the refrigerator for up to a week. However, it is best to enjoy them at room temperature for the ideal caramel texture.
Practice and experimentation:
- Continue to practice your caramel-making skills, experimenting with different apple types, toppings, or even adding flavorings to the caramel itself (e.g., cinnamon or salted caramel). This will help you perfect your caramel apple recipe and technique.
With knowledge, practice, and a little creativity, you’ll soon be able to make delicious caramel apples that will impress both your family and friends. Embrace the opportunity to experiment with different caramel recipes and toppings to create your unique spin on this classic treat. Above all, remember to have fun and cherish the memories made while crafting your homemade caramel apples. Happy dipping!