American apple pie is a classic staple that warms the heart and dazzles the tastes buds with every bite, but what if you could experience this American favorite in a new exciting way? Through mastering the subtle art of pie crust making, understanding the intricacies of preparing the perfect apple filling, and learning the delicate process of assembling and baking, you could transform your original apple pie into marvellous apple pie cookie bars. Creating a flaky crust and rich apple filling, balanced with the prime sweetness and texture, could take your dessert game to the next level. Ready to take the first step into this delectable journey?
Making Pie Crust
Mastering the Art of a Transcendental Pie Crust: A Culinary Symphony of Technique and Patience
There is a seductive allure that surrounds the art of pie-making. The aroma that envelopes the kitchen, the rustic look of baked pastry, the symphony of flavors… it is a luxury that every food lover or aspiring chef relishes. Central to this entire experience is the pie crust. It’s something that, when done right, can transform a good pie into a showstopper that pulls at the heartstrings like a serenade of blissful indulgence.
Let’s set a journey into the magical world of pie crust brilliance. Encounter the secret techniques that can elevate your pie game from ordinary, to extraordinary.
The Importance of Keeping Things Cold
Temperature is key. Half-frozen butter is ideal for a flaky crust. It seamlessly melds with the flour, creating small pockets that eventually expand in the oven and hence, contribute to flakiness. Also, remember to use cold water when combining ingredients. It helps maintain the butter’s temperature.
Don’t Overwork the Dough
Incorporating the butter with the flour correctly calls for nimble fingers and a light touch. The mantra here is the less you handle it, the better it is. Overworking the dough will lead to the development of gluten which unfortunately, results in a tough crust.
Rest and Chill
Allowing the dough to rest in the refrigerator before rolling it out is critical. This ample relaxation time ensures the gluten strands relax and the butter firms up, leading to an end product that is both pleasantly flaky and delightfully buttery.
Rolling with Caution
Evenly rolled dough equals the perfect crust. It should be neither too thick nor too thin – a middle ground is the sweet spot. Careful rolling also ensures that the dough sits snugly inside the pie pan, thus crafting every edge and nook beautifully.
Blind Baking: the Secret Weapon
This step involves pre-baking the crust with baking beans or pie weights. It’s a splendid technique for eliminating soggy bottoms and achieving a wonderfully crispy crust. The practice of blind baking also provides a sturdy shell for your filling of choice.
Egg Wash for a Shiny Finish
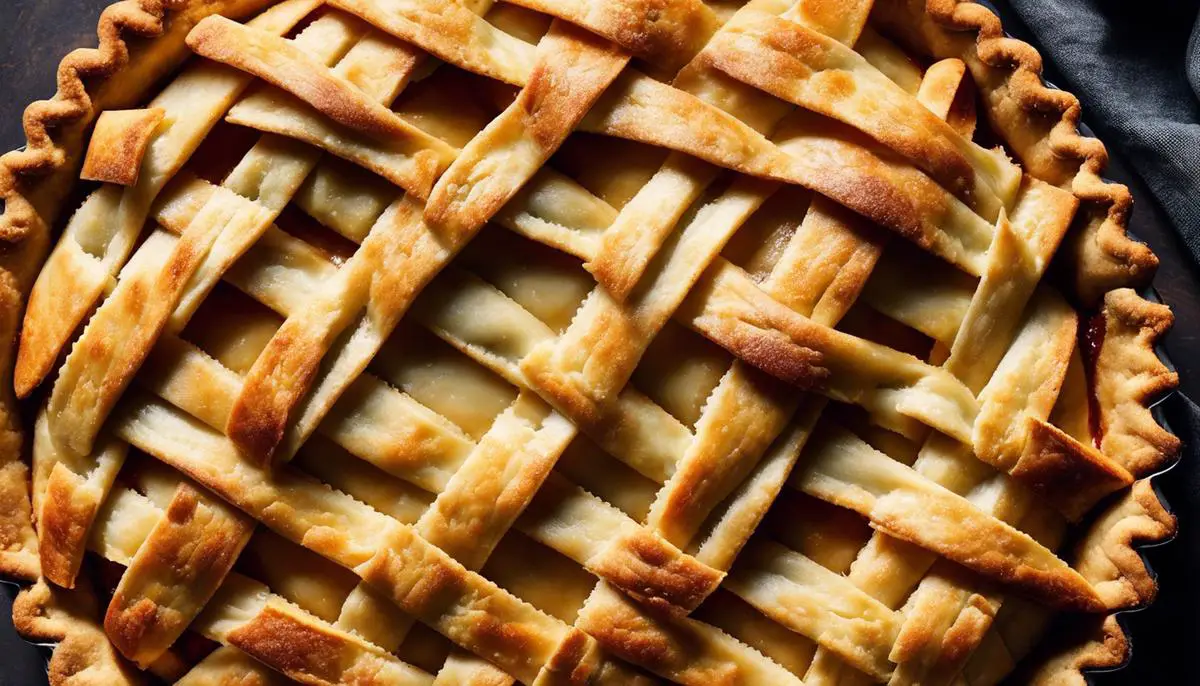
Upon assembling your pie, an egg wash creates an attractive aesthetic finish. It imparts a shiny, golden-brown color that’s supremely inviting and irresistibly tantalizing.
Intriguingly simple and wonderfully rewarding, crafting a sublime pie crust is a culinary pilgrimage of love and patience. Each technique and tool play a vital role in this delightful tapestry of flavor and texture. Every bite recounts a tale of passion and perseverance, a celebration of the magnificent world of baking.
From a humble kitchen experiment to starring in elaborate gourmet spreads, the journey of making a pie crust is indeed a delectable labor of love – an analogy for life, where the intricate layers perfectly echo the flavors of our existence. Happy baking, pie lovers!

Preparing Apple Filling
Crafting a Flavorful Apple Filling to Perfectly Complement Your Cookie Bars
Apple filling – it’s a phrase that brings to mind images of mother’s kitchen, fragrant with the aroma of warm apples and cinnamon, wafting invitingly through the air. The delicious core of any great apple pie or tart, a flavorful apple filling can also be the key to elevating your cookie bars from simple to sensational. Here’s how to concoct the perfect apple filling for your delectable dessert bars.
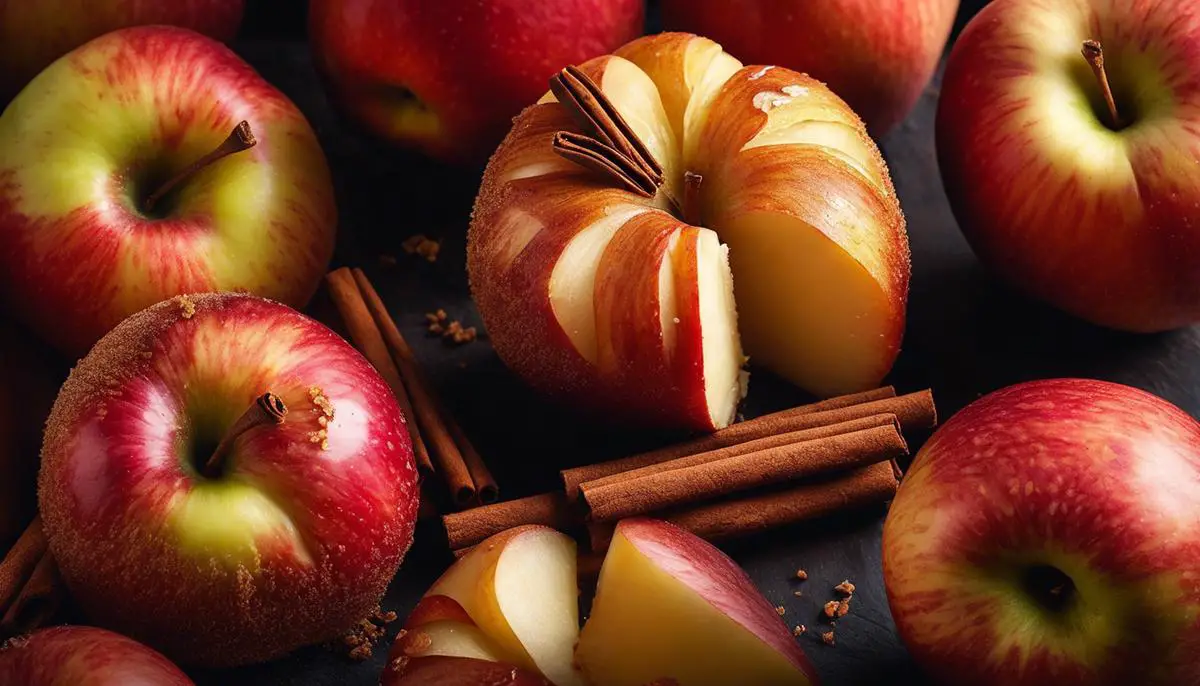
The kind of apple you use will make a big difference. Crisp and slightly tart varieties like Granny Smith and Braeburn are ideal for baking. Their flavor holds up well under heat, contributing a tart, refreshing burst to balance the sweetness of the dessert. However, don’t hesitate to experiment with different fruit combinations. Apples paired with a handful of cranberries or a smattering of blueberries can introduce an unexpected, delightful twist.
Coring and thinly slicing your apples is essential – the smaller, the better. Not only will they cook more evenly, but also fit nicely within the layers of cookie dough. A mandoline slicer can make this process quick and foolproof, although a sharp knife and steady hand will also suffice.
Ensuring your apples are coated in a mixture of sugar, flour, and spices will also add depth to your filling. Flour acts as a thickening agent, absorbing the apples’ natural juices during the cooking process to prevent a soggy mess. Sugar caters to the much-needed sweet element, while spices – usually a mix of cinnamon, nutmeg, and allspice – contribute that quintessential apple dessert flavor that tickles the back of your palate.
Adding a touch of acidity, such as lemon juice, can highlight and accentuate the flavors within your filling. It enlivens the apples, creating a certain zing while also preventing them from browning when sliced.
To elevate your apple filling even further, consider introducing a luxurious note of vanilla with vanilla bean paste or extract mixed into your filling. This addition intertwines with apple’s natural warm flavor, creating layers of decadence that will be hard to resist.
Last but not least, don’t forget to give your apple filling a little time to rest after you’ve mixed it up. This marinating period helps the flavors meld together beautifully, resulting in a filling that’s evenly flavored, and ready to be the crowning glory in your cookie bars.
In the world of baking, the little details can make a big difference. So, as you chop, mix, and stir your way to a flavorful apple filling, remember that each element plays a crucial role. But most importantly, enjoy the process. It’s these gatherings of flavors, techniques, and love that carry the potential to transform every shared dessert into a celebration of connection. So, go ahead – roll up those sleeves, switch on the oven, and explore the limitless possibilities a simple apple filling offers.

Assembling and Baking
Techniques for Assembling and Baking Apple Pie Cookie Bars: A Deep Dive
Continuing on our culinary journey, we unlock the next chapter in baking delicious apple pie cookie bars— assembling and baking. These processes beckon us to display our culinary prowess, charming our way into the very core of this classic dessert.
After crafting a lovely pie crust, it’s time to turn to the filling. Your apples, coated in a divine blend of sugar, flour, spices, and lovingly balanced with a tang of lemon and a whisper of vanilla, have been resting, and they are primed to bring life to your pie. The same way distinction of ingredients can act as a driving force behind your baking ambition, their judicious assembly also constitutes a cardinal puzzle piece in the pie-baking process.
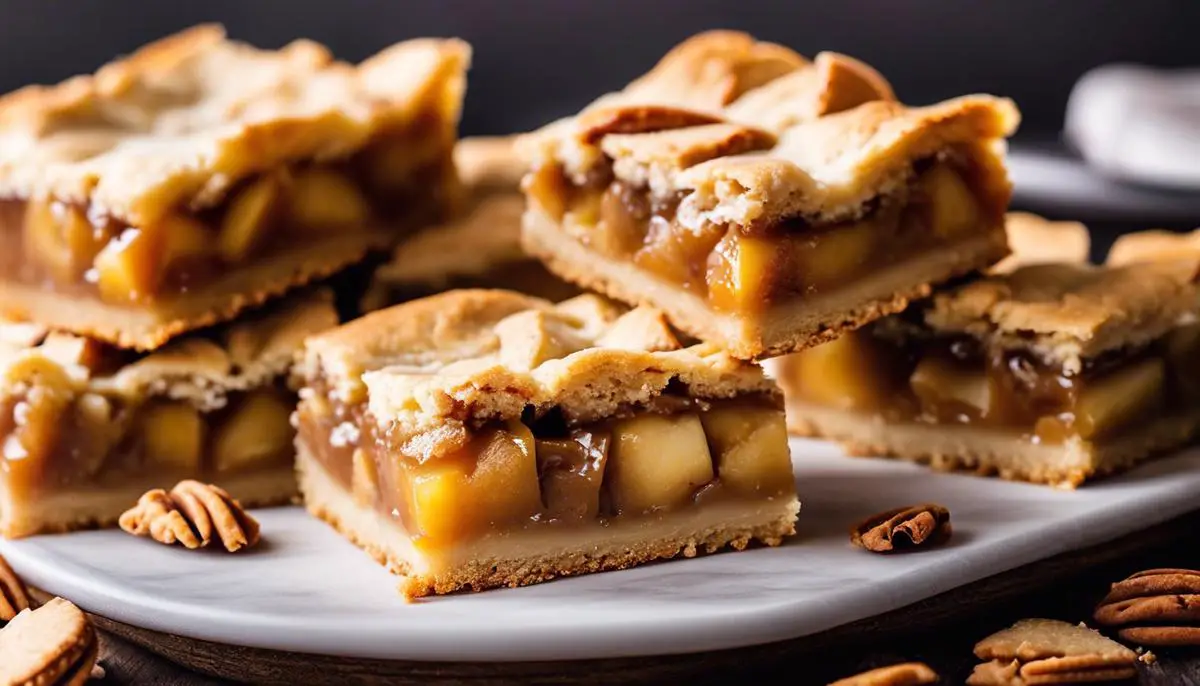
Assembly is key, and there’s a certain finesse attached to it. Start by spreading half of your pie dough into a evenly press down at the bottom of a baking dish. The beauty of apple pie cookie bars lies in their layers. Here’s where that lush filling comes into play— evenly distribute the apple mixture over the initial crust layer, ensuring each bite will entail a burst of flavors.
That’s not all. We know the delights of a classic pie—the elements of crunch and melt. So, we borrow the concept, topping off the apple filling with chunks of the remaining dough. No need for precision here; imperfections can be beautiful, adding to both the visual appeal and the texture variation.
Now, comes the grand act— baking. This is where raw potential transforms into delicious reality. The ideal baking temperature for these apple pie cookie bars is about 375 degrees Fahrenheit. Slide your masterpiece into the hot oven, and let the magic happen. It typically takes around 45-50 minutes for the bars to bake to perfection, but, of course, this may vary slightly from oven to oven.
Don’t feel shy to look through that oven window. You’ll witness a small wonder as the crust assumes a tempting golden hue and the interior bubbles up gently. The final touch in this chapter is wielding that toothpick test. If it comes out clean from the center it indicates that your culinary genius has paid off.
Finally, the hardest part—waiting. Allow the aromatic goodness to cool before slicing, ensuring each cut captures all the layers in perfect harmony. Just remember: there’s an uncompromising thrill and delight in the journey, enriching the soul of the eater as much as the baker. After all, what’s more human than our shared love for food especially when it’s as delicious as apple pie cookie bars? Take that bite and let the sweet avalanche of flavors bring a smile to your face. Because it’s not just about feeding bodies, it’s about nourishing connections, one bar at a time.

After traversing the flavorful fields of pie crust formation, maneuvering through the orchard of apple filling creation, and constructing a monumental masterpiece in assembling and baking, you find yourself standing at the peak of culinary excellence. The marriage of a crisp cookie bar with classic apple pie is a testament to our power to innovate, even when it comes to comfort food. The reward is not just in the sumptuous treat but also in the process, the blend of craft, patience, and an explorative spirit. Revel in new delight, embarking upon amazing culinary discoveries and savor the joy hidden in every bite of your apple pie cookie bars. Good luck with your baking!